Trusting Expensive Tools Is a Mistake: Fluke Multimeters and Mitutoyo Micrometers Need Calibration Discipline
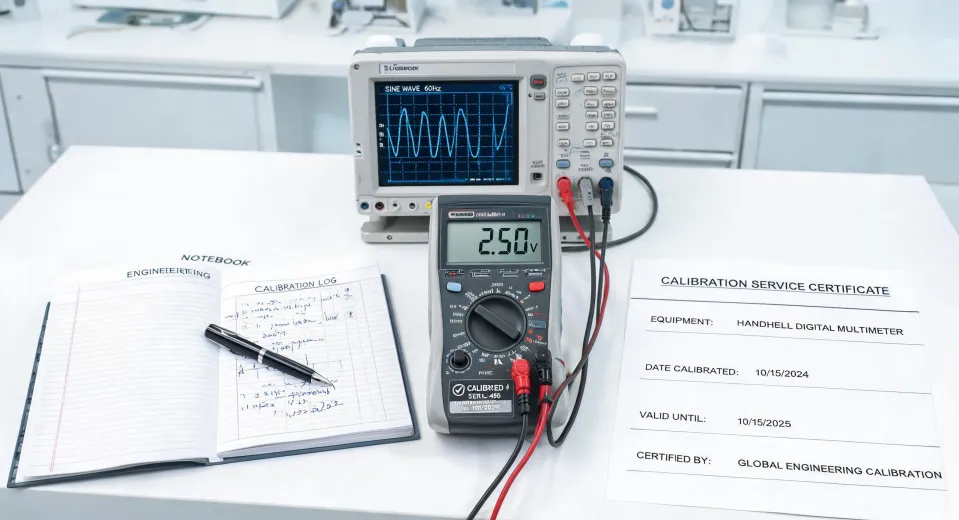
Here's something I never expected to say about tools that cost this much: A $500 Fluke meter and a $300 Mitutoyo micrometer are only as good as the discipline behind them. Actually, they can be worse, because expensive tools make you overconfident. And overconfidence costs money. I know, because I cost my company $3,200 in rejected parts in 2019. I'll get to that in a minute. First, let me explain what I've learned about testing capacitors, using true RMS, and calibrating Mitutoyo's Digimatic micrometers—the hard way.
Most Fluke 115 digital multimeter reviews focus on specs and features, and they're right about those—but the real lessons come when you use it in the field.
My Fluke 115 Digital Multimeter Review: Great, But Not Magical
I've been using the Fluke 115 digital multimeter as my daily carry for about six years. Honestly, it's a workhorse. It's survived drops, dust, and one accidental dunk in coolant (that last one wasn't its fault). The ergonomics are solid, the dial is easy to turn even with gloves, and the backlight saves me on dark rooftops. The 115 doesn't have every feature under the sun—no low-pass filter, no temperature probe—but for HVAC and light industrial work, it's one of the best balances of cost and capability. It's also rated CAT III 600V, which means it's designed to handle most distribution-level power circuits.
But "designed to handle" doesn't mean "idiot-proof." In 2017, I was troubleshooting a fan motor on a rooftop unit. I needed to test a start capacitor. I flipped my Fluke 115 to capacitance mode, touched the leads to the terminals, and got a weird reading. Then the meter clicked off. Dead. I'd blown the internal fuse because I skipped the discharge step. The replacement fuse cost about $8, but the real cost was lost time: climbing down, driving 40 minutes to the supply house, and coming back the next day because I'd lost the rest of the afternoon.
So here's the procedure I now force every new tech to memorize. And before anyone says "well, obviously," let me point out that I should have known too.
- Turn off all power to the circuit.
- Discharge the capacitor with a proper resistor or a purpose-built discharge tool. Don't short it with a screwdriver—that can damage it and you.
- Disconnect the capacitor from the circuit to avoid parallel-path readings.
- Set the Fluke 115 to capacitance mode and allow a few seconds for the reading to stabilize.
- Compare the measured value to the nameplate rating, allowing for tolerance (typically ±5% for motor-run capacitors).
That's how to test a capacitor with a Fluke multimeter the right way. The meter can't do the thinking for you.
One more thing: the 115's input protection is part of why it costs more than a basic meter. It uses high-energy fuses and designed-in clearances to survive transients without turning into a hand grenade. But that protection only works if you use the correct fuse. My mistake burned the original fuse; if I'd replaced it with the wrong one, the meter would have been a liability instead of a tool. Safety ratings are not guarantees.
The Fluke 189 True RMS Multimeter: When It Actually Matters
I also own a Fluke 189 true RMS multimeter. It's discontinued now, but you still see them on eBay at a premium, and they hold a cult status for good reason. The 189 is a high-resolution bench meter that gives you true RMS readings—not just the average rectified value that many digital meters use.
Why does this matter? Because on modern electrical systems, the waveforms are rarely clean. A variable frequency drive (VFD) outputs a voltage waveform full of harmonics. An average-sensing meter might read that as 460 V, but the actual RMS voltage—the one that determines heating and torque—could be 398 V. I watched that exact scenario play out on a 30 HP blower motor. The old meter said "fine," the new 189 said "under-voltage." We replaced no motor; the motor was fine, the drive settings were wrong. If I'd trusted the old reading, I would have chased a ghost.
But the 189 isn't a magic wand. I once spent an hour chasing a "phantom voltage" on a panel before I realized the low-pass filter was still engaged from a VFD reading the previous day. It was an easy mistake to make because the filter button is right next to the dial. The lesson: true RMS gives you the right math, but you still have to choose the right settings.
How to Calibrate a Mitutoyo Digimatic Micrometer (Before It Bites You)
Now the part that cost me the most. In 2019, we were running a job with 2,400 machined components. The tolerance on a critical dimension was ±0.002 inches. We used a Mitutoyo Digimatic micrometer—the digital one, model 293-340—because it's fast, accurate, and easier to read than a vernier. The plan was straightforward: measure every 10th part, verify, move on.
We didn't fail because the micrometer was bad. We failed because it wasn't calibrated. The digital readout can drift, especially if the micrometer has been dropped or temperature-cycled. We kept measuring parts that were within tolerance, but they were actually out by 0.004 inches. The entire order went to scrap. The material cost alone was $3,200, not counting the three days of downtime and the conversation with the customer that I'd rather forget.
Here's how to calibrate a Mitutoyo micrometer properly. I now check ours every morning before a critical job:
- Clean the measuring faces of the micrometer with a lint-free cloth.
- Close the spindle on a known gauge block (ideally NIST-traceable, Grade 0 or better).
- Read the deviation. Most digital micrometers allow zeroing at that point.
- Record the deviation in a logbook—if it's off by more than the tool's specified tolerance, it goes to the calibration lab.
That last step is where I went wrong. I had a mental image of micrometer calibration as something that happened once a year, in a lab coat, not something I needed to do every day. But for critical work, daily verification is cheap insurance. Our quality system now flags any Digimatic tool that hasn't been verified in the last 12 months—and we also send the micrometers out for professional ISO/IEC 17025 accredited calibration annually. The cost is around $150 per tool, which sounds annoying until you compare it to $3,200 in scrap.
I went back and forth on whether to buy our own gauge blocks or rely on the lab. We ended up doing both: daily in-house checks with the gauge blocks, annual lab calibration. The combination gives us measurable traceability and very few surprises. If you're working to tighter tolerances in a lab environment, the standard for measurement management (ISO 10012) is worth reading. For us, the daily checks are the practical takeaway.
"My Micrometer's Been Fine for Ten Years" — Survivorship Bias Is Expensive
Some people will read this and say, "I've had my Mitutoyo for a decade and never calibrated it, and I've never had a problem." Honestly, that's great—until the day you do. The truth is that measuring tools degrade in ways that aren't visible to the naked eye. A micrometer can drift a couple of tenths without you feeling it. A multimeter can lose accuracy on one range only. Even a Fluke should be verified periodically, especially if it's been dropped or exposed to moisture.
My experience is based on about a decade of hands-on work in industrial maintenance and small-batch manufacturing. I can only speak to that context. If you're a hobbyist or a student, the calculus is different—you might not need calibration for your grade. But if you're signing off on parts or electrical safety decisions, you're responsible for the accuracy of your tools.
That's why I still trust my Fluke meters and Mitutoyo tools—but now I've built the checkpoints around them. They're excellent tools. The problem was never the gear. It was my assumption that a premium brand replaces the routine. The $3,200 mistake bought me that lesson. Hopefully, this article saves you the tuition.

Marcus Feld
Marcus Feld is an electrical test and measurement analyst specializing in multimeters, oscilloscopes, clamp meters, insulation testers, spectrum analyzers, and data loggers. He applies IEC 61010-2-030 and IEC 61010-031 concepts while examining measurement category, bandwidth, true-RMS response, input loading, and stated uncertainty. His work helps maintenance engineers and test teams choose safe instruments with performance suited to the signals and environments they actually measure.