From Fluke to Starrett: The 7-Step Incoming Inspection Checklist I Use on Test Equipment
-
Step 1: Read the calibration certificate before you touch the instrument
-
Step 2: Physically inspect the instrument, jacks, and leads before powering up
-
Step 3: Verify accuracy against a known reference, not just a live readout
- Step 4: For micrometers, verify the zero, then read it deliberately
-
Step 5: Let an analytical balance stabilize, then verify with weights
-
Step 6: Check lab consumables like the 50 ml centrifuge tubes
-
Step 7: Record everything and re-check after real-world use
-
Common mistakes I still see
I sign off on every piece of test equipment and lab supply that enters our facility. Last year that was around 500 incoming orders—maybe 460 if you count a single box as one item. I'd have to pull the report. I rejected roughly 7% of first deliveries in 2024. Actually, 6.4%. Not because vendors are dishonest—most are good. Because nobody ran a simple incoming check before the equipment reached the bench.
This is the checklist I run. If you buy or receive test instruments, set up a QC lab, or run a small maintenance department, use it as a starting point. There are seven steps, and I do them in this order.
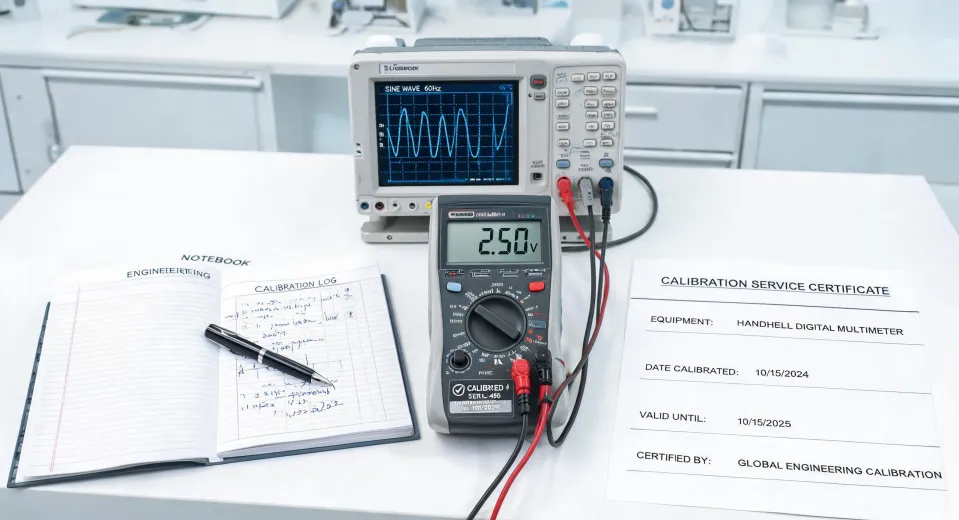
Step 1: Read the calibration certificate before you touch the instrument
Most people skip the paper and go straight to the box. What most people don't realize is that a calibration certificate can be technically valid and completely useless for your situation. It happens more than vendors would like to admit.
The certificate for a Fluke thermocouple calibrator—or any temperature calibrator—should tell you:
- That the serial number matches the instrument in the box. I have seen mismatched serial numbers. Usually it is an administrative mistake, but you are the one who gets to catch it.
- The date of calibration and the procedure used. Ideally, the laboratory is accredited to ISO/IEC 17025 for that specific procedure.
- The measurement points, results, and uncertainties. If the lab only tested at 0 °C and 100 °C, but you calibrate thermocouples at 400–800 °C, the certificate does not cover your work.
Here's something vendors won't tell you: “calibrated with certificate” does not always mean “with data.” It can mean a simple statement that the unit is “in tolerance.” If your quality system needs the actual readings, ask for them before you order. That request is reasonable whether you're buying one unit or one hundred.
Calibration date, procedure, results, and uncertainty. In that order.
Step 2: Physically inspect the instrument, jacks, and leads before powering up
Next, look at the hardware. This step feels like common sense, but it's the one people skip while unboxing something new and exciting. A dented corner, a loose input jack, or a test lead with the wrong rating can turn a reliable multimeter into a random number generator. Or worse.
Things I check:
- Housing and display for cracks, dents, or missing screws. A device that has been dropped can be out of specification even if it turns on fine.
- Input terminals. Bent pins, debris, or loose sockets create intermittent readings that are hard to diagnose later.
- Test leads. For electrical testers, the leads must carry the same measurement category and voltage rating as the instrument. This is not a detail. A CAT III-rated lead on a CAT IV-rated insulation tester is a safety problem, not a convenience issue.
When our order includes a Fluke insulation tester 1587, I also check the rotary switch action and the condition of the high-voltage output jack. If the switch feels gritty or the jack shows carbon tracking or damage, the tester doesn't go into service. End of decision.
I learned this the hard way. Once we had two hours before a motor repair crew needed an insulation tester on site. Normally I'd run a longer check, but with the crew waiting, I did a quick visual inspection and sent it out. It worked. But after that I built a “rapid release” checklist for rush situations so nobody has to choose between speed and safety.
Step 3: Verify accuracy against a known reference, not just a live readout
Turning on an instrument and seeing numbers is not verification. The display will almost always show something plausible. The question is whether the number agrees with a reference you trust.
For a new Fluke thermocouple calibrator, I connect it to our reference digital multimeter and set it to source a type K signal at our most common process temperatures. I compare the output voltage to the values in the ITS-90 thermocouple reference tables. If the output is within the manufacturer's published accuracy—which, for a calibrator like this, is normally tighter than the instruments it calibrates—I record the result and pass the unit.
For insulation testers, the check is different. A Fluke 1587 generates high voltage to measure insulation resistance—or rather, it applies a controlled voltage and measures the resulting current. So it needs a reference that can handle that voltage. We use a set of certified high-value resistors rated for the voltages involved: one near 100 kΩ, one near 1 MΩ, and one near 1 GΩ. Run the tester at 500 V and 1000 V across those references and you will know quickly whether it is telling the truth.
This sounds technical, but it takes about 15 minutes. What I mean is: the fifteen minutes you spend on the bench are cheaper than the hours you'll spend later explaining why a motor failed after it was cleared by a tester that was never verified.
Step 4: For micrometers, verify the zero, then read it deliberately
Micrometers don't drift like electronics, but they still fail. A micrometer that has been dropped can measure consistently wrong, and no display will warn you. That's why the first check is always the same: close the spindle on a known standard and confirm the zero. If it doesn't read zero, either adjust it or record the deviation. Don't quietly subtract the error in your head—that's how measurements get misreported.
How to read a Starrett micrometer in five steps
- Wipe the measuring faces clean. A speck of dust or a film of oil changes the reading.
- Close the spindle on the part with the ratchet stop or friction thimble, using consistent pressure.
- Read the sleeve. Each numbered division is 0.100 inch, and each short line between them is 0.025 inch.
- Read the thimble division that lines up with the horizontal datum line on the sleeve. Each thimble division is 0.001 inch.
- Add the vernier scale if your Starrett micrometer has one. The single vernier line that aligns with a thimble line adds 0.0001 inch.
Example: If the sleeve shows 0.375 inch and the thimble shows 0.007 inch, the reading is 0.382 inch. Add the vernier if present, and you're done.
The step most people ignore is the zero check. It's the easiest to skip because a micrometer looks fine. Dirty anvils, worn faces, and hard closing habits all shift the zero. Start there. End with a number you'd defend in a report.
Step 5: Let an analytical balance stabilize, then verify with weights
Analytical balances sit in a strange place in the QC world. They're expensive enough to get attention, but people often treat the balance itself as good enough after it levels and reads zero.
When a new balance arrives, we let it sit at lab temperature for at least an hour before powering it on. A balance that was shipped in a cold truck will drift until its internal parts reach thermal equilibrium. Then we level it, run the built-in calibration if it has one, and do a repeatability check with a certified weight near the middle of its range. I also check corner-load error by placing the weight in the center and at each corner of the pan. A balance can read correctly in the center and be significantly off on one corner—you only catch that with an eccentricity test.
There's also the purchasing side. When I compare analytical balance price quotes for our smaller satellite lab, I don't just compare the purchase number. I compare the cost of verification over two years: internal calibration weights versus an external certified weight set, service turnaround, and how easy it is for a technician to run a daily check. The cheapest balance is rarely the lowest total cost.
I went back and forth between two models for weeks. One had internal calibration and was more expensive; the other needed an external weight set and manual daily checks. I chose the internal-calibration model because technicians skip manual steps when they're busy. Then I made them run the manual checks anyway. Consistency matters more than convenience.
Step 6: Check lab consumables like the 50 ml centrifuge tubes
This is the step that surprises people outside the lab. A 50 ml centrifuge tube looks like a disposable plastic item. It's easy to order, open, and use without a second thought. But if you run analyses that depend on low contamination, the tube is part of the measurement system.
- Confirm the lot number and request the certificate of analysis if your application needs documented purity.
- Check the tube material and the rated centrifugal force. Not all 50 ml centrifuge tubes are the same; a tube rated for 12,000 × g at room temperature may deform or fail if spun at higher speed in a cold rotor.
- Inspect a few tubes from the box: cracks, imperfect sealing surfaces, and debris are visible if you look.
- Keep the lot traceability record, especially if you ever need to investigate an outlier result.
Small labs often get treated like they don't matter at this point. I've been on the small-lab side, and the vendors who took our $200 order seriously are the ones we still use now that our orders are bigger. Here's something a good supplier understands: quality documentation is not a reward for volume. A certificate for one box of tubes costs the same effort as a certificate for a hundred boxes, so don't be shy about asking for it.
Step 7: Record everything and re-check after real-world use
The last step is not really a step; it's a habit. Log the incoming check, the calibration date, the next scheduled calibration, and where the instrument is assigned. Then schedule a follow-up after the first month of real use. Instruments fail early. Most of that comes from transportation damage or from a technician handling a tool in a way you can't predict when it's sitting on a bench.
Yes, even a premium instrument needs periodic re-verification. So does a micrometer. So does an analytical balance. Any manufacturer or supplier who tells you otherwise is selling hope, not measurement.
Common mistakes I still see
- Running the incoming inspection after the instrument has already been used on a job. That defeats the purpose.
- Accepting a certificate without checking the serial number.
- Skipping consumables because they're “just plastic.”
- Forgetting to check the test lead ratings on an insulation tester.
- Waiting until the annual audit to discover the calibration schedule was never set up.
The common thread is easy to miss—or rather, it's easy to ignore. Incoming checks protect your customers and your reputation. They don't need to take hours. But they need to happen before the tool goes to work.
If you remember nothing else from this checklist, remember this: certificates are only useful when you read them, references only help when you use them, and small orders deserve the same quality checks as large ones. That's it.

Marcus Feld
Marcus Feld is an electrical test and measurement analyst specializing in multimeters, oscilloscopes, clamp meters, insulation testers, spectrum analyzers, and data loggers. He applies IEC 61010-2-030 and IEC 61010-031 concepts while examining measurement category, bandwidth, true-RMS response, input loading, and stated uncertainty. His work helps maintenance engineers and test teams choose safe instruments with performance suited to the signals and environments they actually measure.