A 7-Step Buying Checklist for Fluke Multimeter 117, Absolute Digimatic Caliper, and Insulation Testers
-
Who This Checklist Is For
-
Step 1: Name the Application Before You Name the Brand
-
Step 2: Read the Spec Sheet Like a Contract
-
Step 3: Check the Accessory List, Not Just the Quote
-
Step 4: Verify Authorized Channels, Especially for Fluke
-
Step 5: Define What 'Calibrated' Means Before You Order
-
Step 6: Plan Calibration Frequency and Budget
-
Step 7: Use a Three-Quote Rule with a TCO Spreadsheet
-
Common Mistakes I Still See
-
Final Thought
I'm not an electrical engineer. I'm the person who signs the purchase orders for test equipment at a 140-person industrial services company. Over the last six years, I've tracked more than $190,000 in instrument purchases in our ERP, and I've made most of the mistakes you can make with a purchase order.
This is the checklist I now use when buying Fluke multimeters, calipers, and insulation testers. It has seven steps. It won't make you an expert, but it'll keep you from buying the right brand for the wrong job—or paying the wrong total cost for the right tool.
Who This Checklist Is For
Use this if you're sourcing instruments for a maintenance team, a small lab, or a production floor. If you're buying one meter for your own bench, the process is simpler, and you can skip the vendor-quote parts. This is written for people who buy in batches and have to justify the spend later.
Step 1: Name the Application Before You Name the Brand
The biggest waste I see is buying a known model before anyone writes down what the tool actually has to do. A Fluke multimeter 117 is a good electrician's meter, but it's not an insulation tester. A micrometer won't help if you're measuring a sheet-metal part that needs 0.01 mm resolution from a caliper.
Write down three things: what you're measuring, what tolerance you need, and where the tool will live. If the tool lives in a panel shop and sees dust, that matters. If it lives in a calibration lab, that matters more.
This is where the “megger vs insulation tester” question shows up. Megger is a brand name; insulation tester is the product category. I've seen purchase requests that say “we need a Megger” when the actual requirement was a motor-winding insulation tester with 500 V and 1000 V test ranges. The salesperson asked “which Megger model?” and got blank stares. That's a requirements problem, not a brand problem.
Step 2: Read the Spec Sheet Like a Contract
Pull the datasheet. If it isn't published, ask for it. For electrical test gear, check the overvoltage category and the measurement category. A Fluke multimeter 117 is rated CAT III 600 V / CAT IV 300 V per IEC 61010-1 (as of January 2025, per Fluke's product page). That rating tells you where the meter can be used safely. A meter without a safety rating is a toy.
For calipers, the numbers that matter are resolution and accuracy. Mitutoyo's Absolute Digimatic caliper is a reference product for good reason: 0.01 mm resolution and ±0.02 mm accuracy for a 150 mm unit (as of January 2025, verify current specs on Mitutoyo's site). If a listing doesn't state accuracy, it's not a professional-grade instrument.
Step 3: Check the Accessory List, Not Just the Quote
This is where procurement and engineering collide. A quote looks cheap because it excludes leads, probes, clips, a case, calibration certificates, shipping, and sometimes even the battery.
In Q2 2024, I compared two quotes for ten Fluke meters. Vendor A quoted $4,180 including accessories and a 3-year warranty. Vendor B quoted $3,650, but added $420 for the accessories, $250 for shipping, and no warranty beyond the manufacturer standard. Total with B: $4,320. The lower quote was $140 higher once you added everything. That's the difference between a unit price and a total cost.
Step 4: Verify Authorized Channels, Especially for Fluke
I'm not going to pretend I've never looked at a discounted listing. The phrase “Chinese Fluke multimeter” appears in online listings for a few reasons: it might be a gray-market import, a unit from a regional manufacturing line, or a counterfeit. The spec sheet won't tell you which one you're looking at. The serial number will.
Why does this matter? Because a counterfeit failure can cause rework, downtime, and potentially a safety incident. Fluke publishes a serial-number verification process for registered products. Authorized distributors issue serial numbers that trace back to Fluke's records. If a seller won't give you a serial number before payment, that's a red flag.
I bought a gray-market instrument once because it saved $700. It failed calibration twice in two years, cost $480 in calibration fees, and got scrapped. That $700 “saving” turned into a $1,180 loss.
Step 5: Define What 'Calibrated' Means Before You Order
This is the step most buyers ignore, and it's the one that caused my biggest personal mistake.
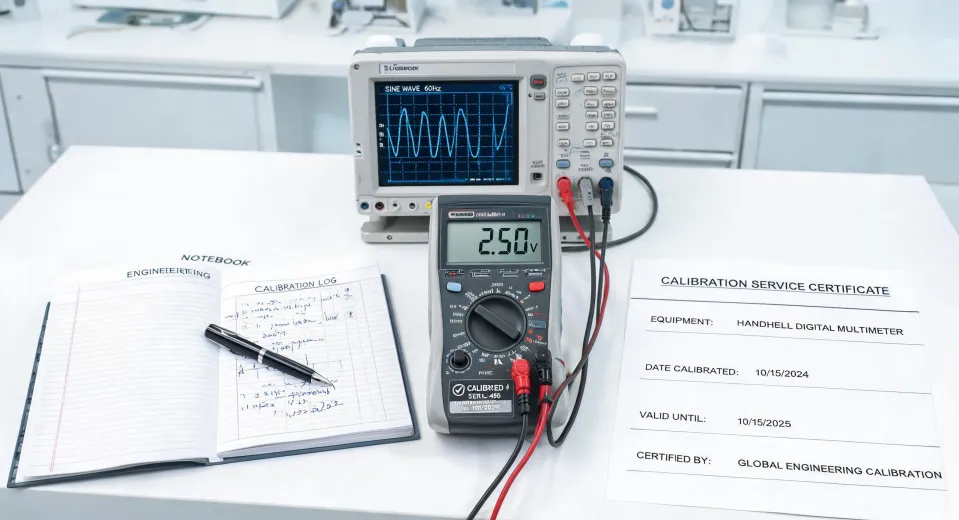
I said “we need calibrated calipers.” The vendor heard “calipers with a calibration certificate.” Those are not the same thing. A factory screen shot is not the same as a calibration certificate with traceability, data, and a due date. We found out when our auditor asked for the uncertainty values and the vendor said “we don't provide those.”
So do this before you order: confirm the calibration standard (ISO 17025 or in-house), the measurement points, the acceptance tolerances, and who pays if the instrument arrives out of tolerance.
Step 6: Plan Calibration Frequency and Budget
Fluke and Mitutoyo make durable equipment. They still drift. I audited our calibration spend in 2023 and found that 22% of our “instrument failures” were actually overdue calibrations. The tool wasn't broken; the schedule was missing.
Our rule now is simple: every instrument gets a calibration sticker with a due date when it arrives, and the due date goes into our maintenance calendar. For high-usage electrical test equipment, our budget planning assumes calibration costs of about 10–15% of purchase price per year. That number changes with the instrument type, so use it as a planning estimate, not a quote.
This is also where “megger vs insulation tester” becomes important. An insulation tester may pass a basic resistance check but fail to hold its test voltage under load. That's a calibration issue, not a brand issue. A megger made by Megger needs the same calibration discipline as an insulation tester from anyone else.
Step 7: Use a Three-Quote Rule with a TCO Spreadsheet
Our procurement policy requires three quotes for anything over $500. But three quotes are only useful if you compare the same scope. I built a spreadsheet with columns for unit price, accessories, shipping, calibration, lead time, warranty, expected calibration cost over three years, and disposal cost. The number I compare is the total, not the sticker price.
One more thing: I trust a vendor who says “this isn't our strength” more than one who says “we can handle everything.” That's a lesson from a calibration company that took our order, outsourced the actual work, and blamed us when the paperwork didn't match. A specialist who tells you to go elsewhere for the other half is a specialist worth keeping.
Common Mistakes I Still See
- Buying a Fluke multimeter 117 because the model number is famous, before checking whether the job needs a clamp meter or an insulation tester instead.
- Buying an Absolute Digimatic caliper when a standard digimatic caliper would do, because the Absolute feature is a convenience, not a requirement. It's worth the premium only if the tool gets daily use.
- Using “Megger” as a generic term, then wondering why the vendor asks for a model number. Say “insulation tester” if that's what you mean, and say “Megger” if you genuinely want the Megger brand.
- Forgetting that test equipment ages. A 15-year-old insulation tester might read fine overnight but fail under load during an actual test.
Final Thought
This checklist worked for us, but our situation is a mid-size industrial services company with predictable order patterns. If you're outfitting a research lab or a one-person startup, your priorities will be different. The part that transfers is the habit: define the job, verify the specs, count the total cost, and schedule calibration before you schedule the work.

Marcus Feld
Marcus Feld is an electrical test and measurement analyst specializing in multimeters, oscilloscopes, clamp meters, insulation testers, spectrum analyzers, and data loggers. He applies IEC 61010-2-030 and IEC 61010-031 concepts while examining measurement category, bandwidth, true-RMS response, input loading, and stated uncertainty. His work helps maintenance engineers and test teams choose safe instruments with performance suited to the signals and environments they actually measure.